For the 1st Tangible Interaction Workshop assignment, we were asked to make a controller for a browser version of the classic arcade game Lunar Lander.
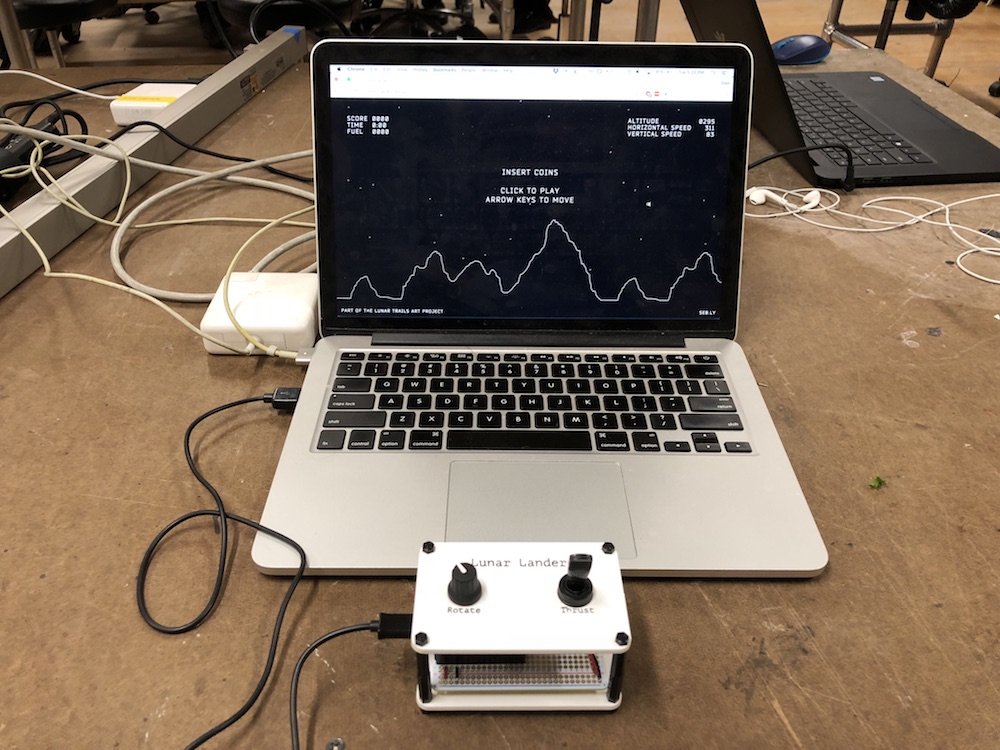
The controls for this version of the game are:
- Click the left mouse button to start.
- Rotate clockwise and counter-clockwise using the right and left arrow keys, respectively.
- Fire the thruster using the up arrow key.
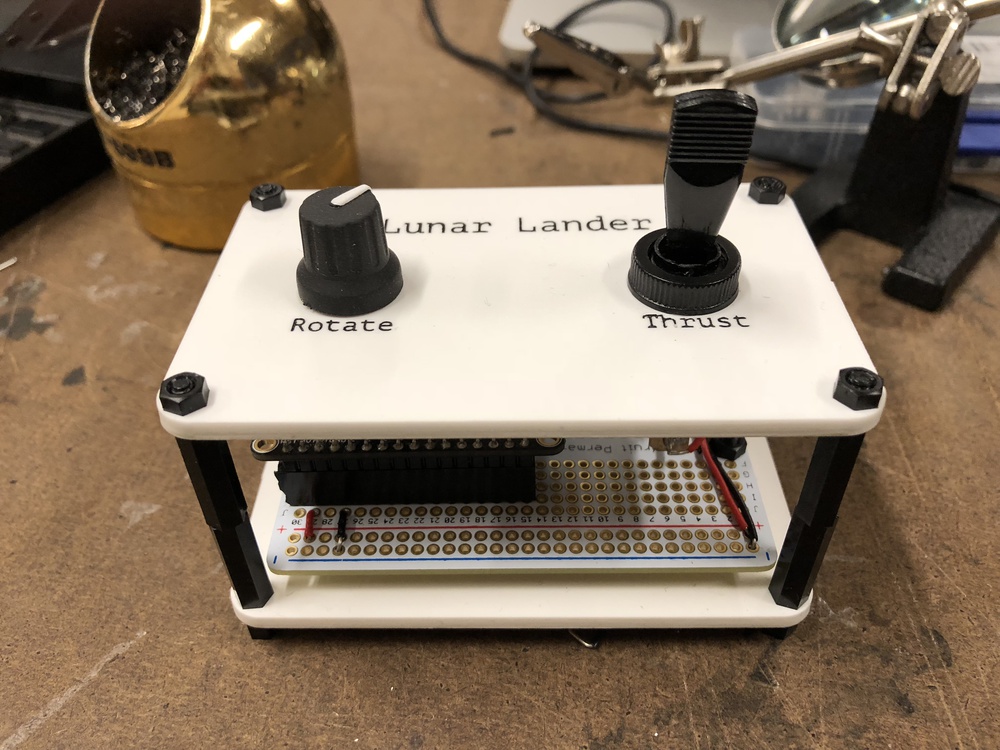
Components
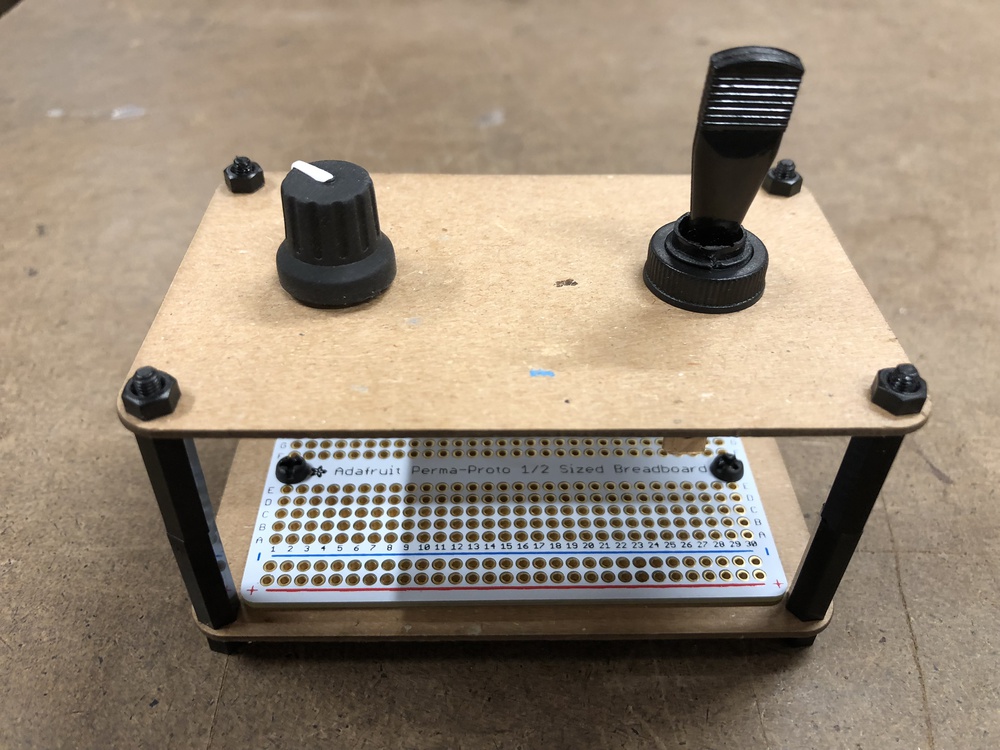
I chose to use a momentary toggle switch to control the thruster and a rotary encoder with a built-in momentary switch to control the rotation and handle the mouse click. I needed a microcontroller that could be programmed to be a USB HID device in order to act as a keyboard and mouse, so I went with an Adafruit Feather 32u4 that I had lying around from a previous project. I also used an Adafruit Perma-Proto Half-sized Breadboard PCB for the circuit, and used female headers to avoid soldering the microcontroller directly to the perfboard.

Enclosure
Once I’d sourced my components, the next step was to design the interface and enclosure. I decided to go with a standoffs-and-panels approach (as described in the Intro to Fabrication notes), using black nylon hex standoffs and 1/8” white matte acrylic. I designed the panels in Vectorworks, then cut them out on the 75 Watt Epilog laser cutter.

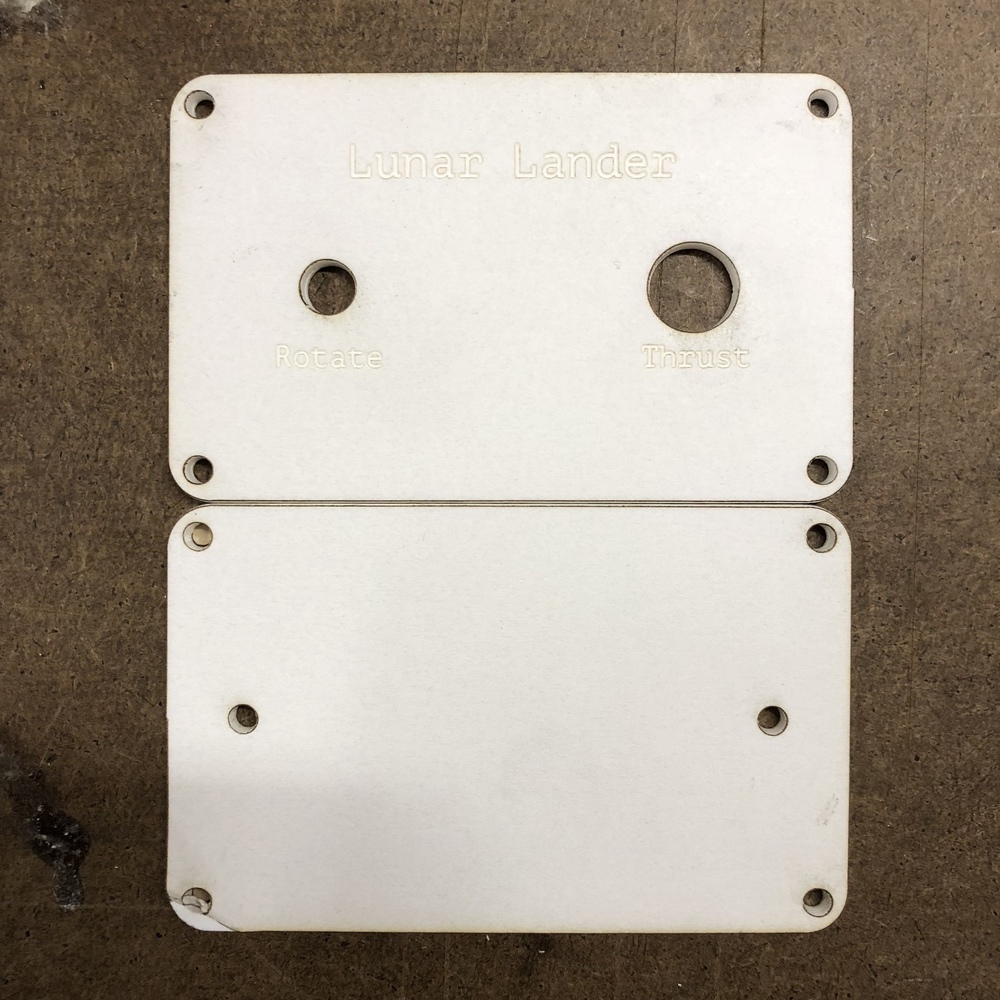
Before I cut the panels in acrylic, I did a test cut in cardboard to make sure that my measurements were correct.
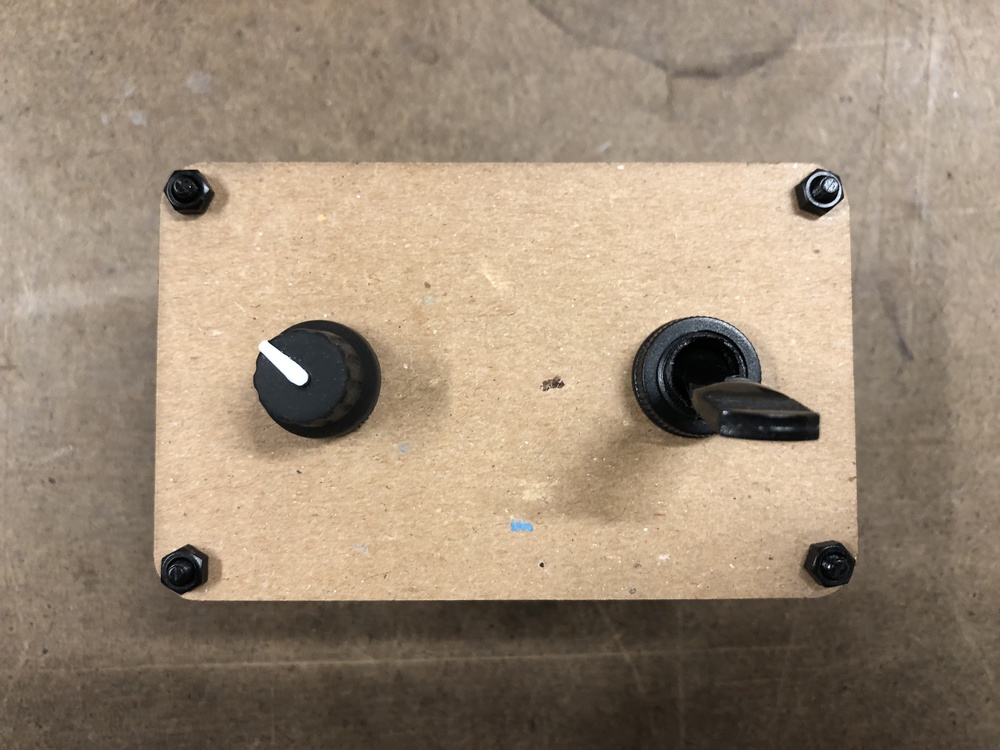
Once I was sure that everything checked out, I cut and etched the panels in the white matte acrylic. I left the paper on the acrylic when etching, so that I could paint over the etched text in black acrylic paint later.


Circuit
At this point, the fabrication was pretty much done, and it was time to work on the circuit. First, I soldered wires to my components and prototyped the circuit on a breadboard. I made sure to use pins 2 and 3 for the rotary encoder, as the Encoder library works best with hardware interrupt pins, and pins 2 and 3 are both interrupt pins on the Adafruit Feather 32u4. Once I was sure everything was working, I soldered the wiring to the Perma-Proto PCB and assembled the controller.

Putting it Together


Code
The code for controlling the up arrow key and left mouse click using the two momentary switches was pretty straightforward. The more complicated part was mapping the rotary encoder’s rotation to the left and right arrow keys. Initially, turning the rotary encoder would only rotate the lander by a small amount, because each turn of the knob only “pressed” the corresponding arrow key for a short amount of time. The solution to this was to add a short delay between pressing the key and releasing the key, with the length of the delay proportional to the amount of rotation generated by each turn.
Playtesting
Files
Arduino source code
Illustrator file for laser cutting the enclosure
Fritzing sketch for the circuit diagram