For the second week of Intro to Fabrication, we were asked to make multiples (5 or more) of something, and I chose to make bookends.
References
I used this Simple DIY Bookends guide to help me figure out my materials, measurements, and process.
Materials
- Pine boards: 6 1x6x4-1/2 pieces and 6 1x6x7 pieces (1 of each for each bookend)
- Rubber bumpers with adhesive backing: 2 packs of 16 (4 bumpers for each bookend)
- #10x1-1/4 phillips flat head screws: 3 packs of 8 (3 screws for each bookend)


Tools
- Miter saw
- Center punch
- Drill and 9/64 bit
- Phillips head screwdriver
- 90° corner clamp
- Speed clamp
- Sanding block


Process
For the following process, I first built one bookend all the way through, and once I understood how it was all going to work, I went back to the beginning and performed each step for all of the bookends at a time before moving on to the next.
Cutting the Pine Board
Step 1 was to cut the pine board into individual pieces. I used the miter saw to do this, along with a stop block that I set up using the miter saw’s builtin clamp and some scrap wood from the shop.

Fastening
Once the pieces were cut, I had to put them together. Initially, I thought that I was going to use a combination of wood glue and screws, but the wood glue ended up being messy (because I didn’t know what I was doing) and impractical (because it turned out that my pine boards had a significant curve which prevented the glue from adhering evenly).

Once I realized that the wood glue wasn’t going to work out, I decided to just skip it and only use screws. Before I drilled pilot holes for the screws, I used a ruler and a center punch to mark where the pilot holes should go.


I then used the drill to drive screws into the pilot holes, but used a screwdriver to tighten the last few turns to avoid stripping the screw or cracking the wood.


Rubber Bumpers
The next step was to attach rubber bumpers to the bottom of the bookend, to keep it from sliding around. The bumpers were self-adhesive; all I had to do to attach them was remove their paper backing and stick them to the wood.

L-brackets
I experimented with attaching two L-brackets to the front of one of the bookends (the “first pancake” that I tried to glue) because the guide that I was following suggested it. However, I didn’t really like how the brackets looked and they didn’t seem to make a difference for holding up books, so I didn’t add them to any of the others.

Sanding
The last step was to sand away any rough edges by hand, using a sanding block.

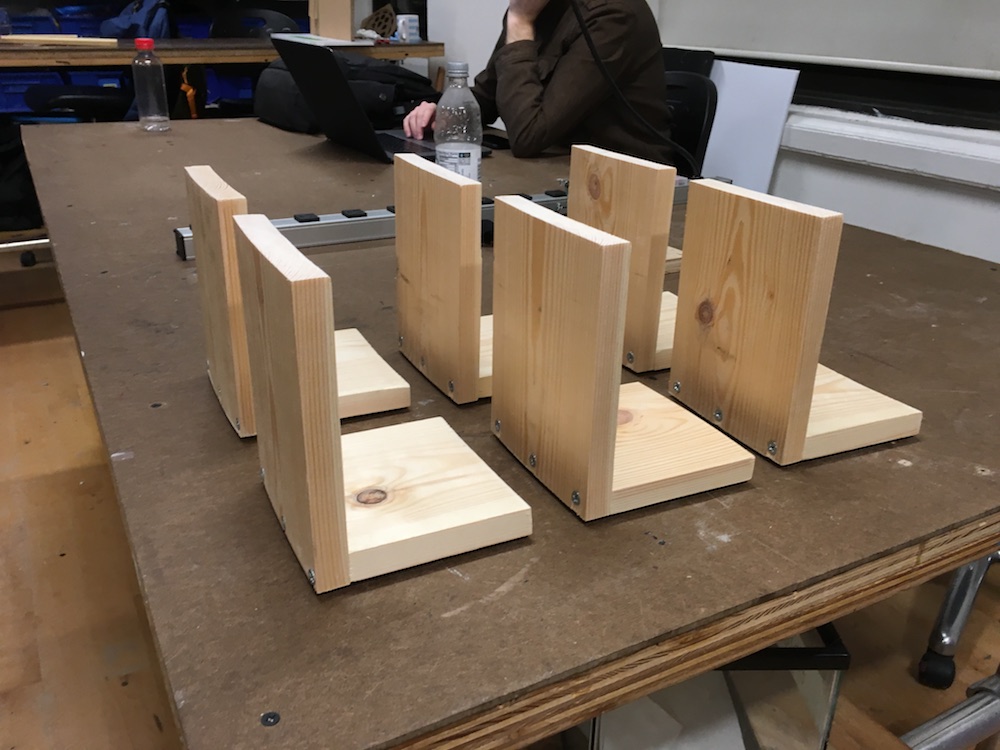
Results

