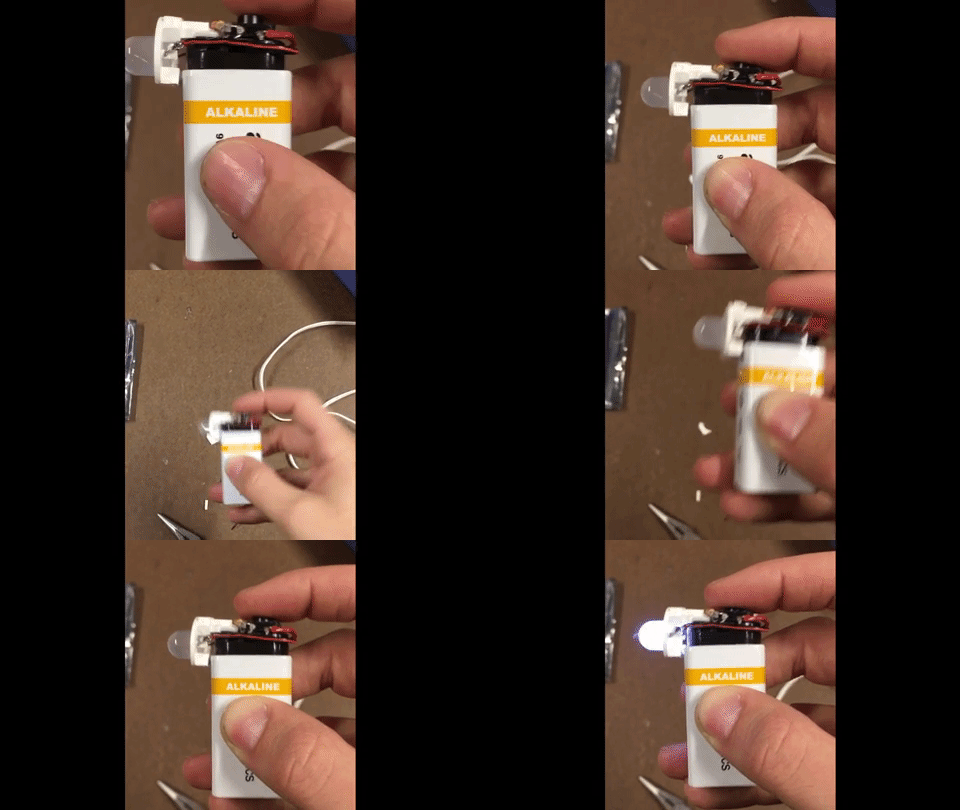
My first Intro to Fabrication assignment was to make a flashlight, where a “flashlight” could be anything that was portable, battery-powered, and created light. I chose to make a simple light out of a 9V battery clip, a tactile switch, and a large white LED in a holder that I scavenged from the junk shelf.

References
I was inspired by these two Instructables for making 9V LED flashlights. I found these instructables by searching through the flashlight Instructables page that Ben linked to in the class notes.
Materials
Tools
Testing the LED
To make sure that the LED still worked, I used some jumper cables to connect the LED to the battery clip, with a resistor in between. I read that most white LEDs work well at 3.3V and 25mA, and if you plugg those numbers into Ohm’s Law (V / I = R), you get a resistance of (9V - 3.3V) / 0.025A = 228Ω, so a 220Ω resistor seemed like a reasonable choice.
Soldering and Hot Glueing
First, I cut off some excess plastic from the LED holder using a pair of wire cutters.
Next, I soldered the anode of the LED to a resistor, which was in turn soldered to one leg of the tactile switch. Then, I soldered the other leg of the switch to the battery clip’s power wire, and the battery clip’s ground wire to the LED’s cathode. I also cut off the two unused legs of the switch.
Finally, I hot glued the switch and the LED holder to the top of the battery clip.