For the midterm for Physical Computing, Alan Peng and I built a laser harp MIDI controller.
Inspiration
After we were assigned as partners, Alan and I spent some time brainstorming about what we wanted to make. We came across Klanglichter, a really beautiful laser harp project made by Tobias Kreter and Onat Hekimoglu, and were inspired to try and make a similar instrument. We decided to make our laser harp a MIDI controller, so that we could combine our serial communication lab and midterm assignments into one project.
We did some research and found several different Instructables on making an Arduino-controlled laser harp. There seemed to be two different approaches that we could take:
- A frameless laser harp that used a single, powerful laser reflected off of a mirror attached to a rapidly rotating DC motor to create the illusion of multiple laser beams.
- A framed laser harp that used multiple lasers, each pointing at somet type of light sensor (photoresistors, phototransistors, or photodiodes).
We decided to go with the second approach, because we were a little nervous about working with powerful lasers that could potentially blind us or others and a DC motor that would require more than 5V of power.
Sketches
Our first step was to sketch out a few rough ideas of what the harp might look like:
Buying Components
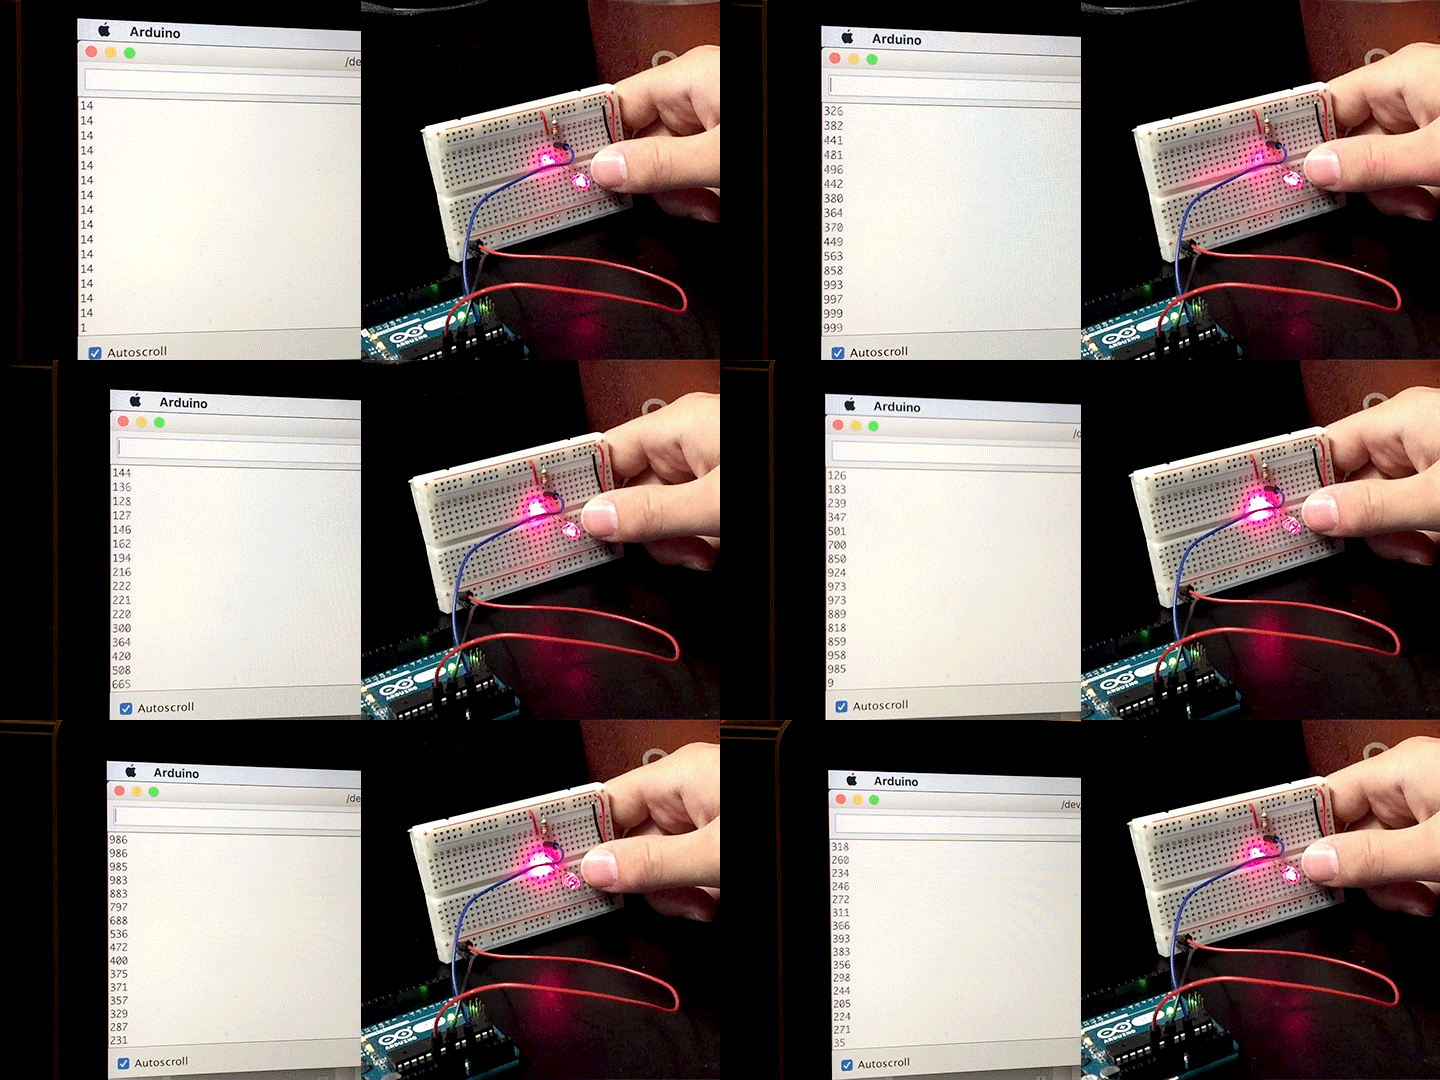
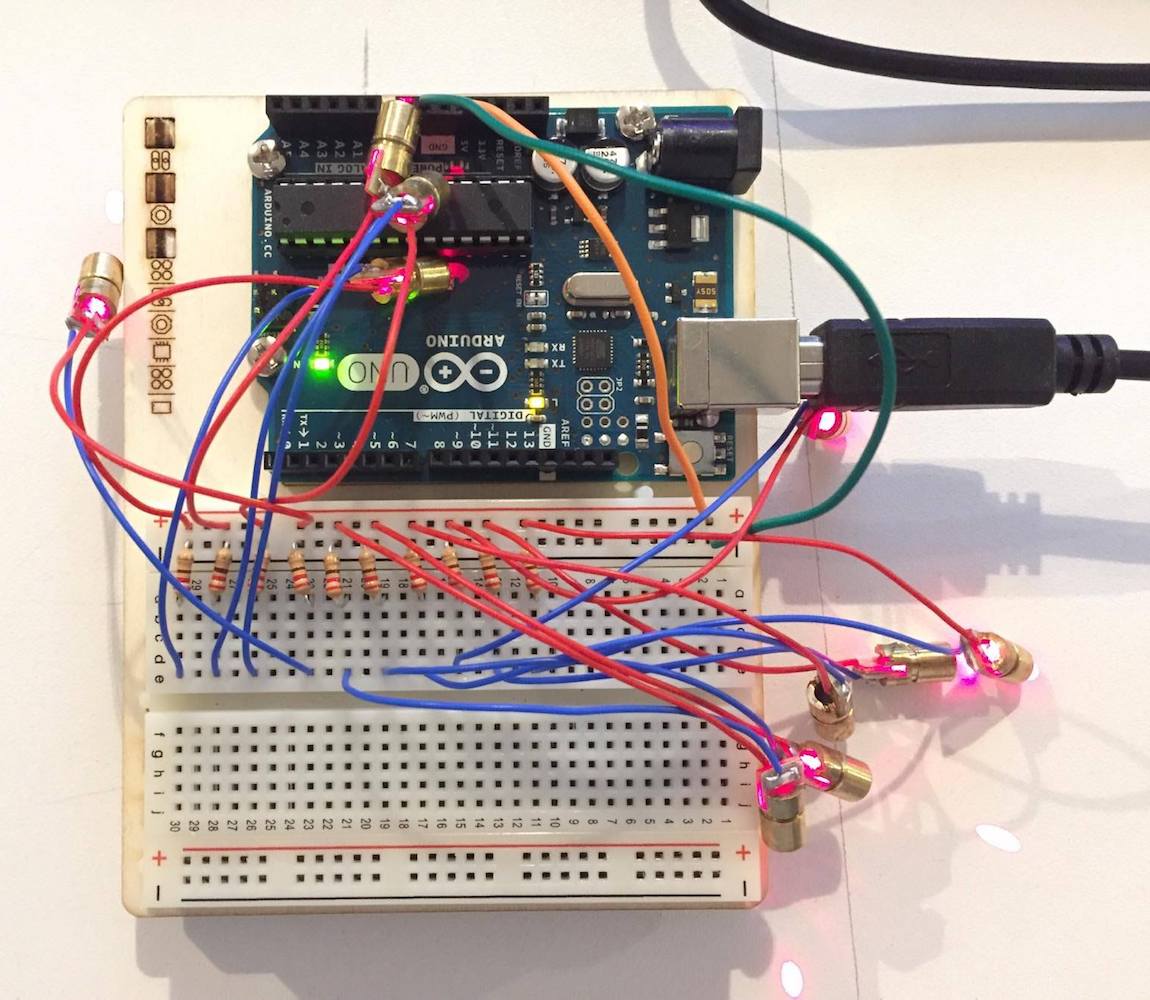
We decided that we wanted to have seven strings so that our harp could play a musical scale, so we knew that we needed at least seven laser diodes and seven light sensors. We ended up buying a cheap 10-pack of red 5mW laser diodes and a 20-pack of photodiodes on Amazon. We also bought some MIDI jacks that we didn’t end up using, because we later decided to send MIDI over the Arduino’s USB port for simplicity and ease of fabrication.
Prototyping the Circuits
Fabrication
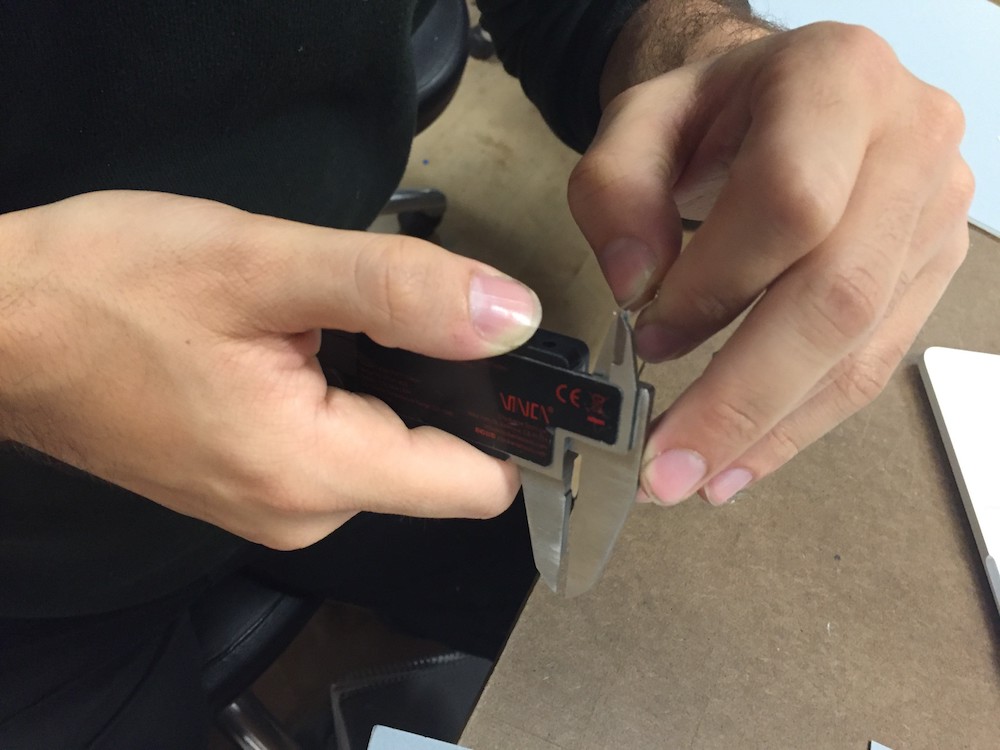
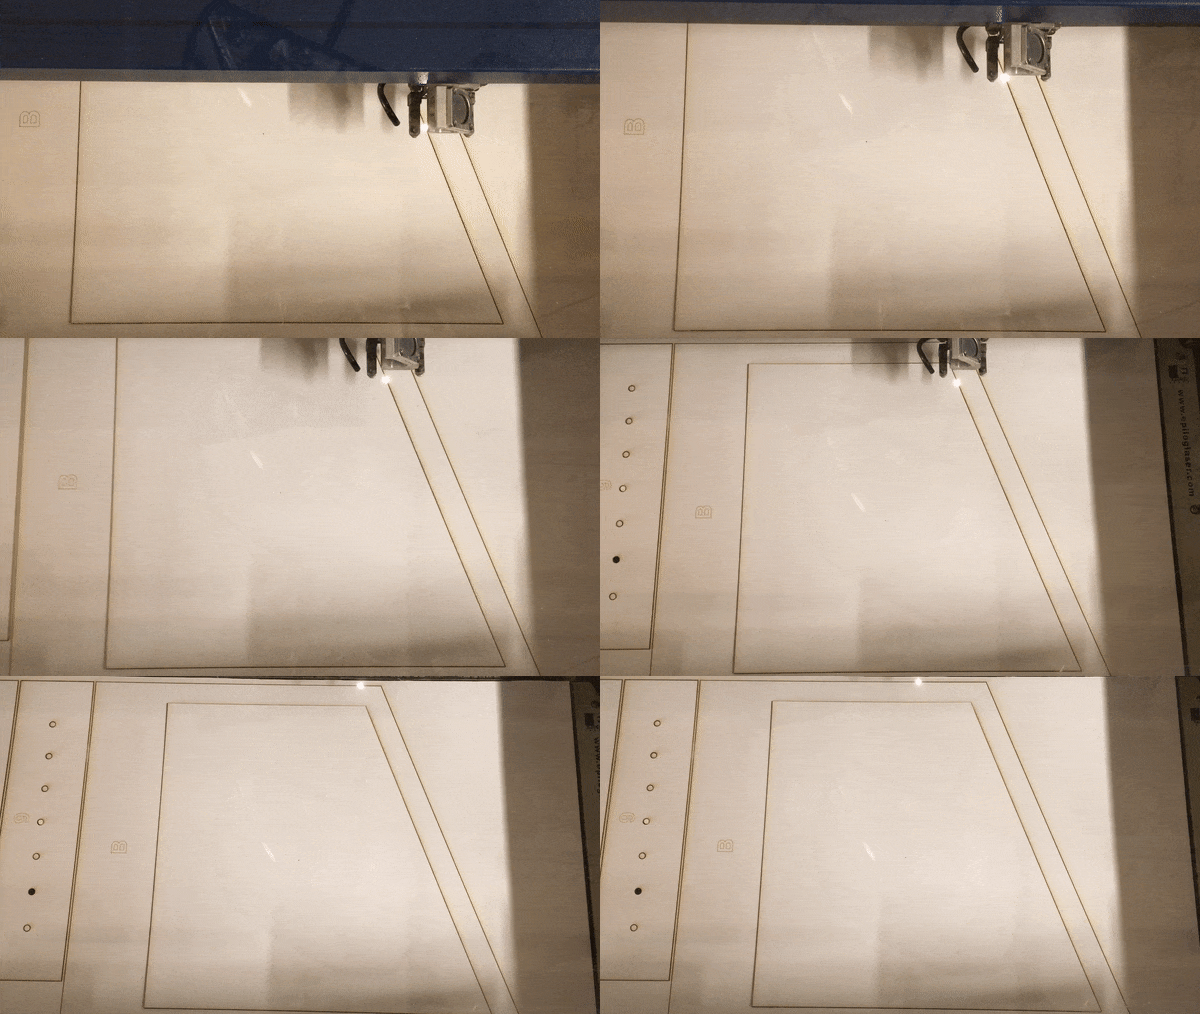
We designed the enclosure in Adobe Illustrator, including holes for our components and the Arduino’s USB port, and then laser cut all of the parts out of matboard from Blick Art Materials.

Code
Serial to MIDI to Ableton Live
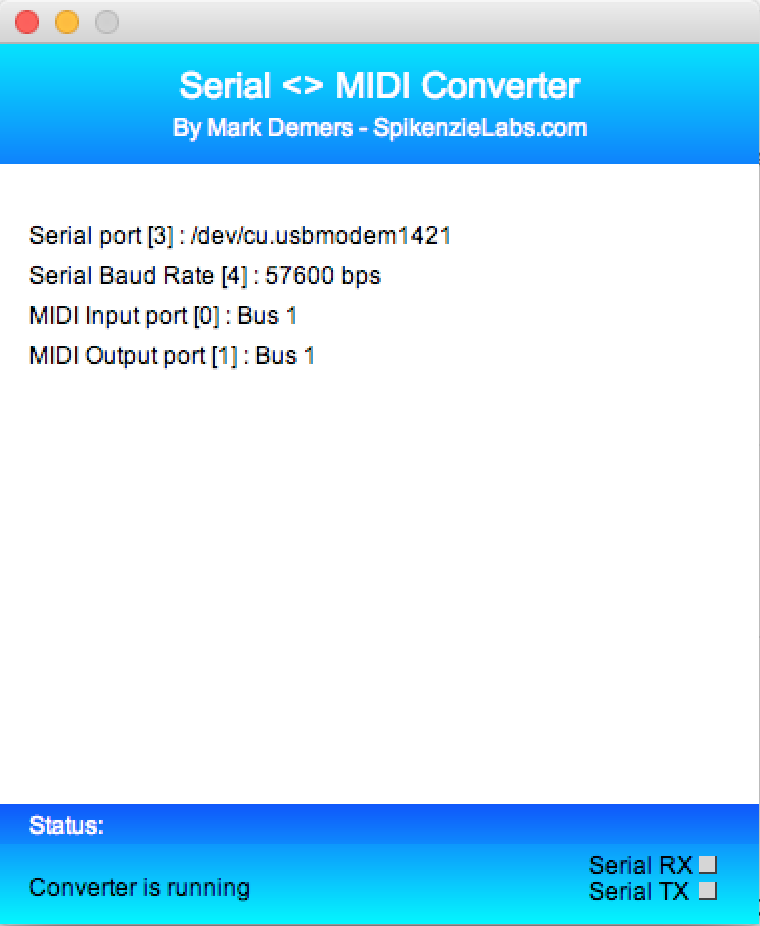
Since our Arduino wrote MIDI data to serial over USB instead of a MIDI jack, we needed to run an additional program to convert route the MIDI data from serial to a virtual MIDI port on one of our computers. We used SpikenzieLabs’ Serial-MIDI Converter to do this.
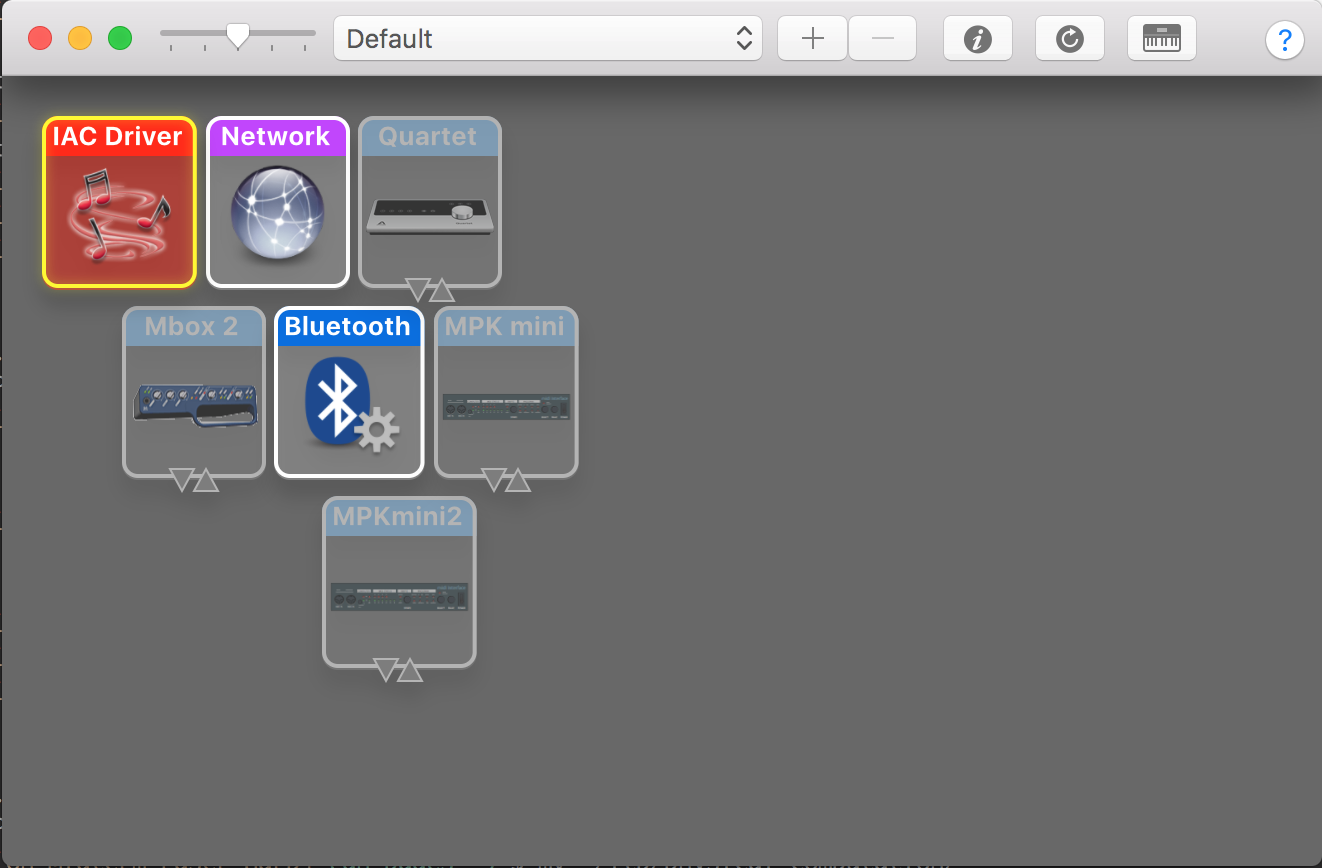
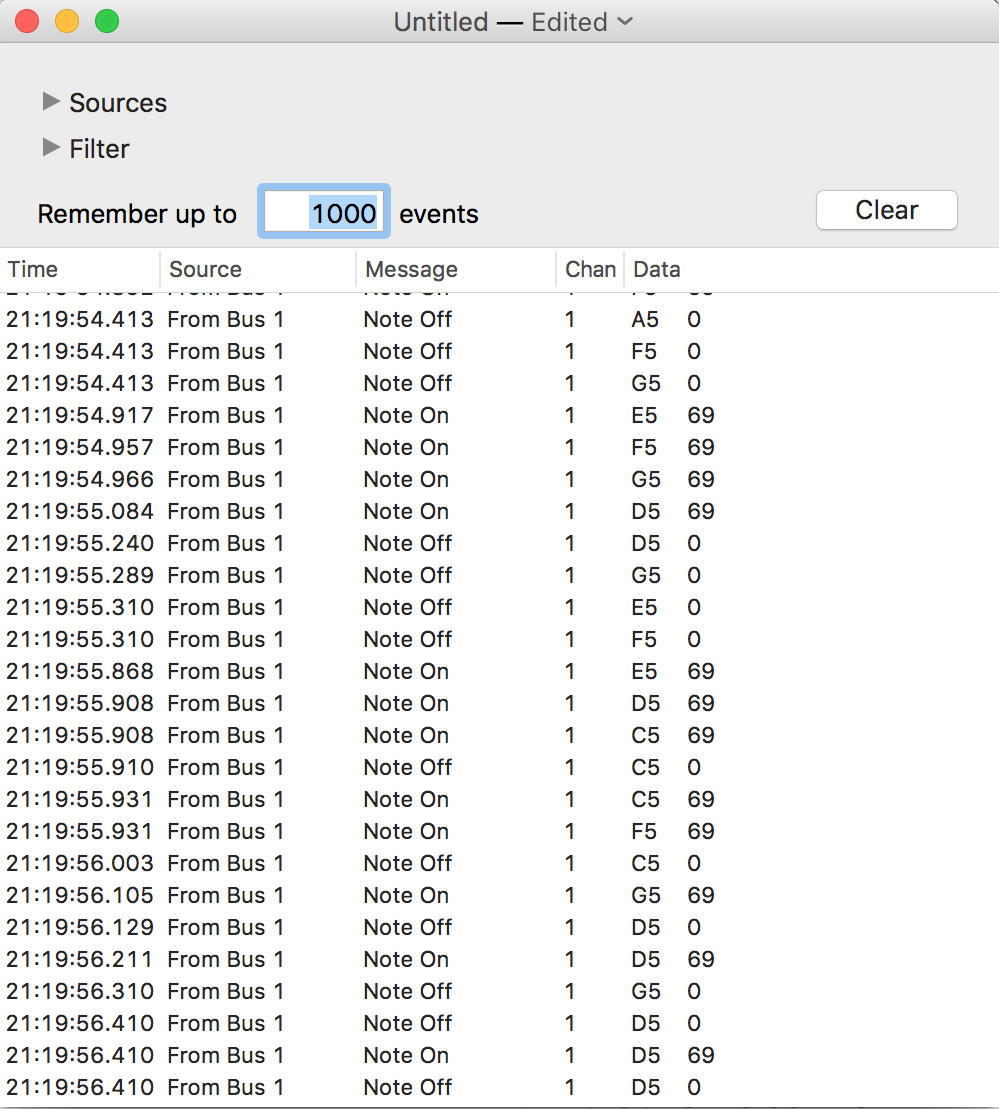
We also used Kurt Revis’ MIDI Monitor to verify that we were actually sending MIDI data to a virtual MIDI port.
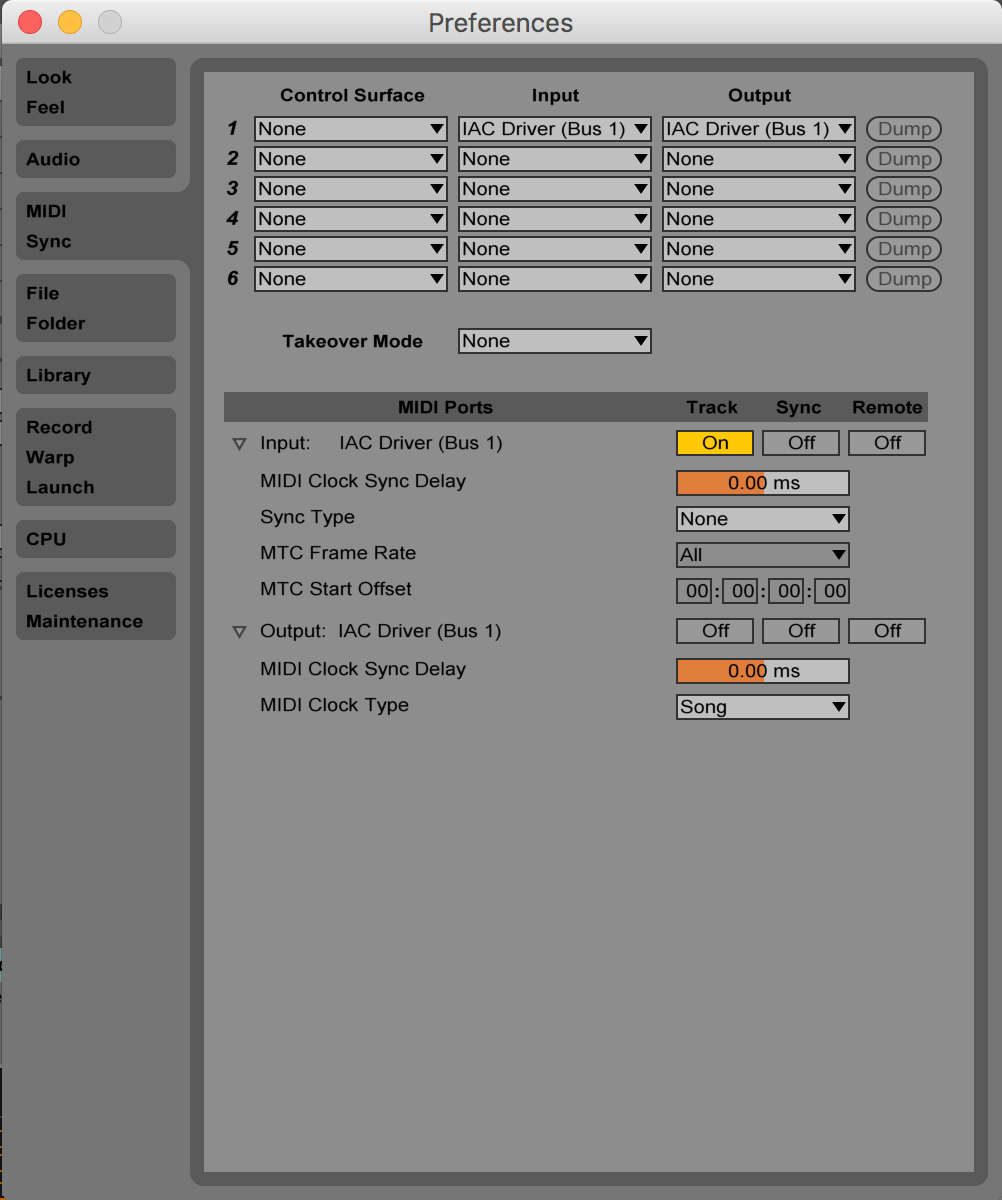
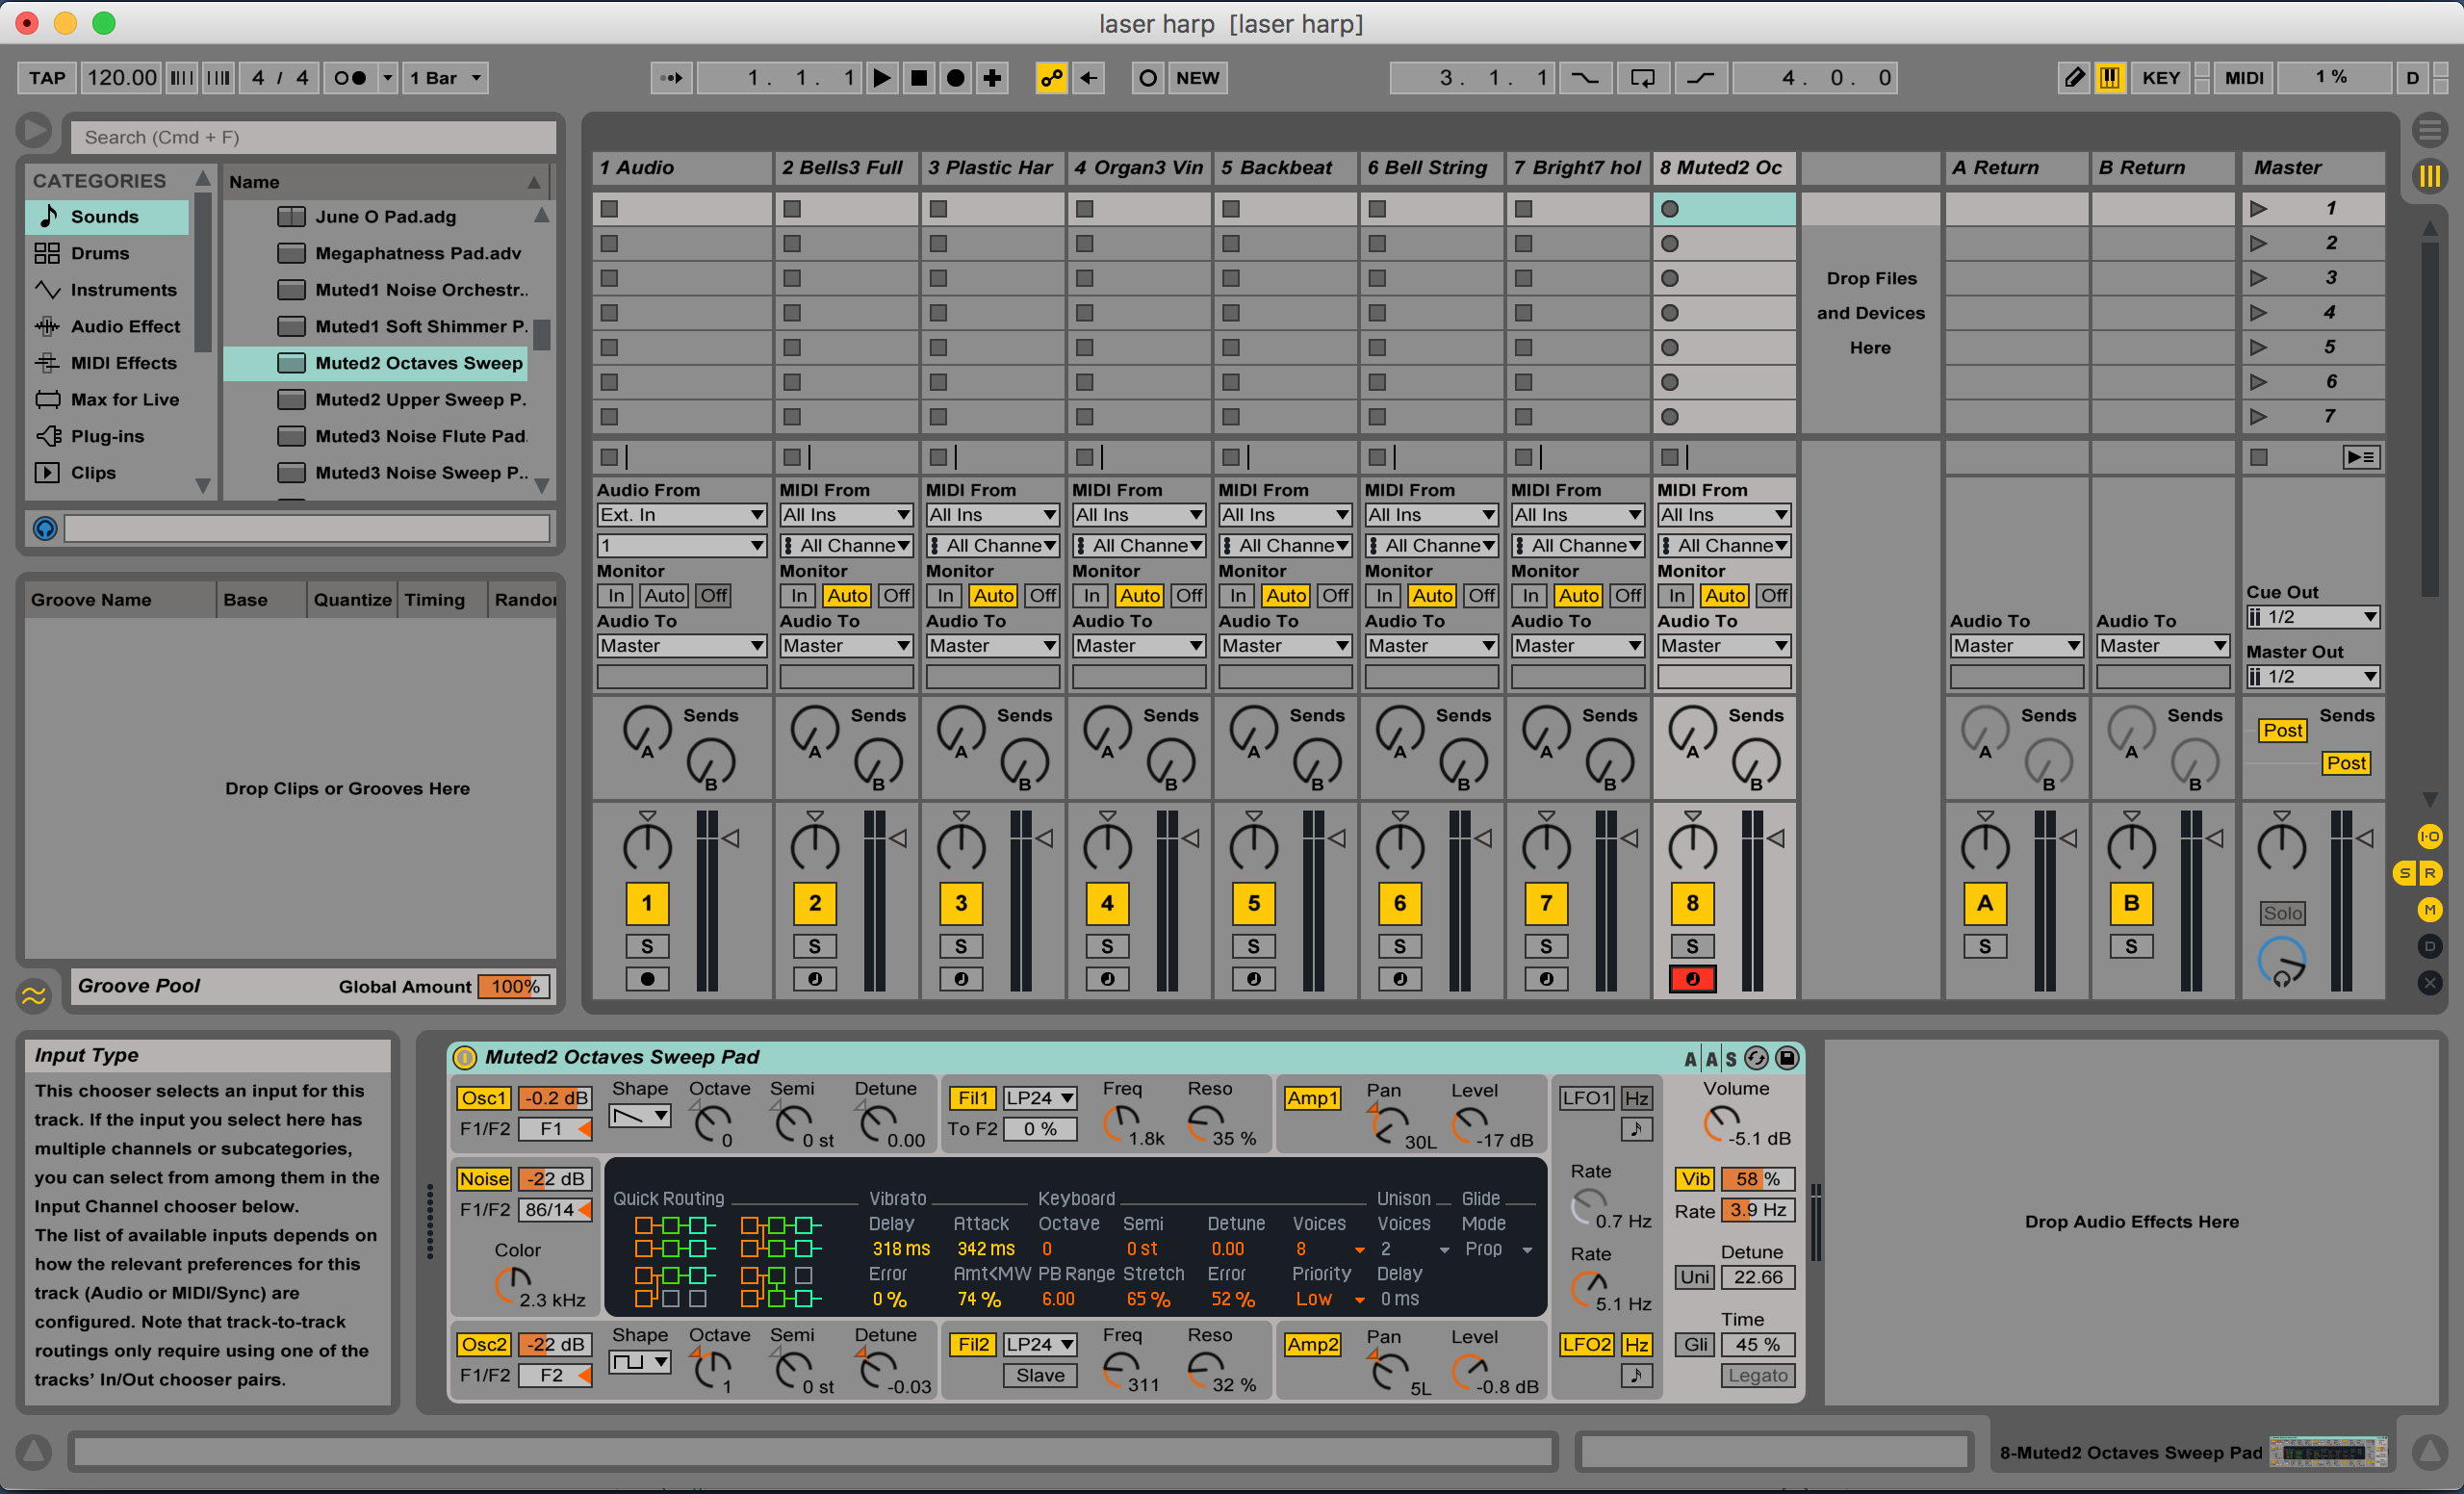
Once that was working, the last thing that we had to do was configure Ableton Live to read from the virtual MIDI port.
